Embed Audio with Google Drive
In this tutorial I will be showing you how to use Google Drive to host and embed audio for your blog.
The first thing you will need is a Google Account. I am assuming you already know how to add folders and files to Google Drive.
Create a folder named what ever you wan’t, Share it publicly. After that any thing you put in the folder will be public..
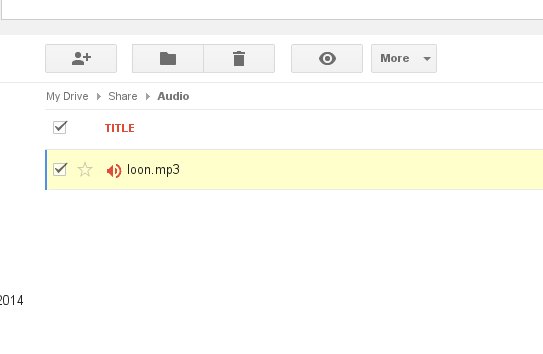
Go ahead and upload an audio file to your Google Drive folder.
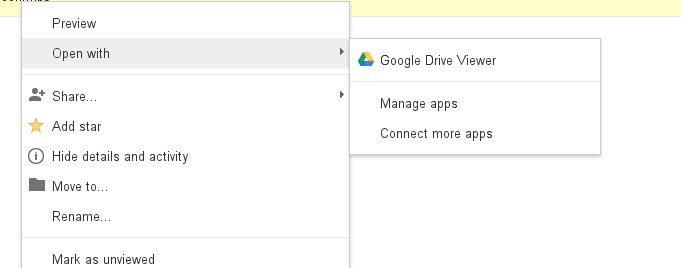
Once you have your audio file uploaded select open with Google drive viewer.
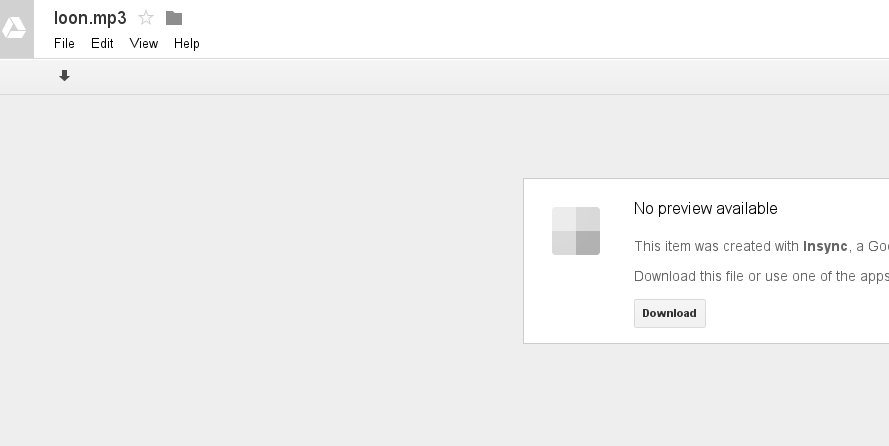
The file will open with no preview available There will be a download arrow under file.
click the download arrow and it will start to download. In the first few seconds of download you will have the download link accessible in the address bar. Click on the stop of your browser to stop the page from loading any more and that will keep the download link in your address bar. In Chrome the refresh icon will turn in to a stop while download starts. Be quick to get it in time.
Once you have that you can embed the file on your blog.
Embed your link with the audio tag.Use the text editor not the Visual editor.
(Copy and paste your download link in to the html tags below.)
<audio controls>
<source src=”download-link”/>
</audio>
your player will look like this.
The look of the player will be dependent on the browser you are viewing it on. You can also add a little bit of css to the audio tag to get some more customization. It is also possible to use the download link in other players as long as you can use a url for the file source.


